


An easy, cost-saving & popular DIY trend in home improvement is painted floors! It is a great way repurpose what is already in your home and is an affordable & transforming way to update any room!
We have seen this used primarily on tile flooring, but thought we would give it a shot on old linoleum.
Here’s how we did it!
Painting floors can seem overwhelming, but we promise it is a quick and easy way to make a big impact. Using supplies from our ReStore, you can achieve this look in just a few hours of painting – plus drying time of course!
Here’s a glimpse of the bathroom before:

To get started, here’s what you’ll need:
- High-Grit Sandpaper
- Old Cloth
- Painters Tape
- Paintbrush
- Small Roller
- Primer
- Paint Color of Your Choice
- Sealant/Top Coat [TIP: a basic polyurethane will do the trick, but for high traffic or bathroom areas you might choose an epoxy-style sealant.]
Directions:
PREP: This is definitely the most important step because you want a good foundation for your paint and primer to adhere to. First, wipe down the surface with hot water – you may need to use a cleaner if your surface is dirty. After that is dried, sand down the linoleum with high-grit sandpaper, just enough to roughen up the surface before priming. Make sure to wipe the dust away with a damp cloth, and then tape your baseboards and other areas you don’t want to paint.
PRIME: Use your paintbrush to prime along the border of your room and then use a roller to finish the rest of your floor. Coverage is not super important on this step -the goal of priming is to prepare the surface for paint and increase durability. Make sure to wash out your brush and roller so you can reuse it for your floor paint.
PAINT: Follow the dry-time directions on your primer and when dry, repeat the process of applying floor paint to the borders and floor using your paintbrush and roller. Apply your first coat of paint, follow the dry-time instructions and paint another layer for your second coat.
SEAL: After your floor paint is dry, follow the instructions labeled on your sealant product to seal your floors. We recommend applying at least 2-3 coats, especially in high traffic areas.
Check out the final look!
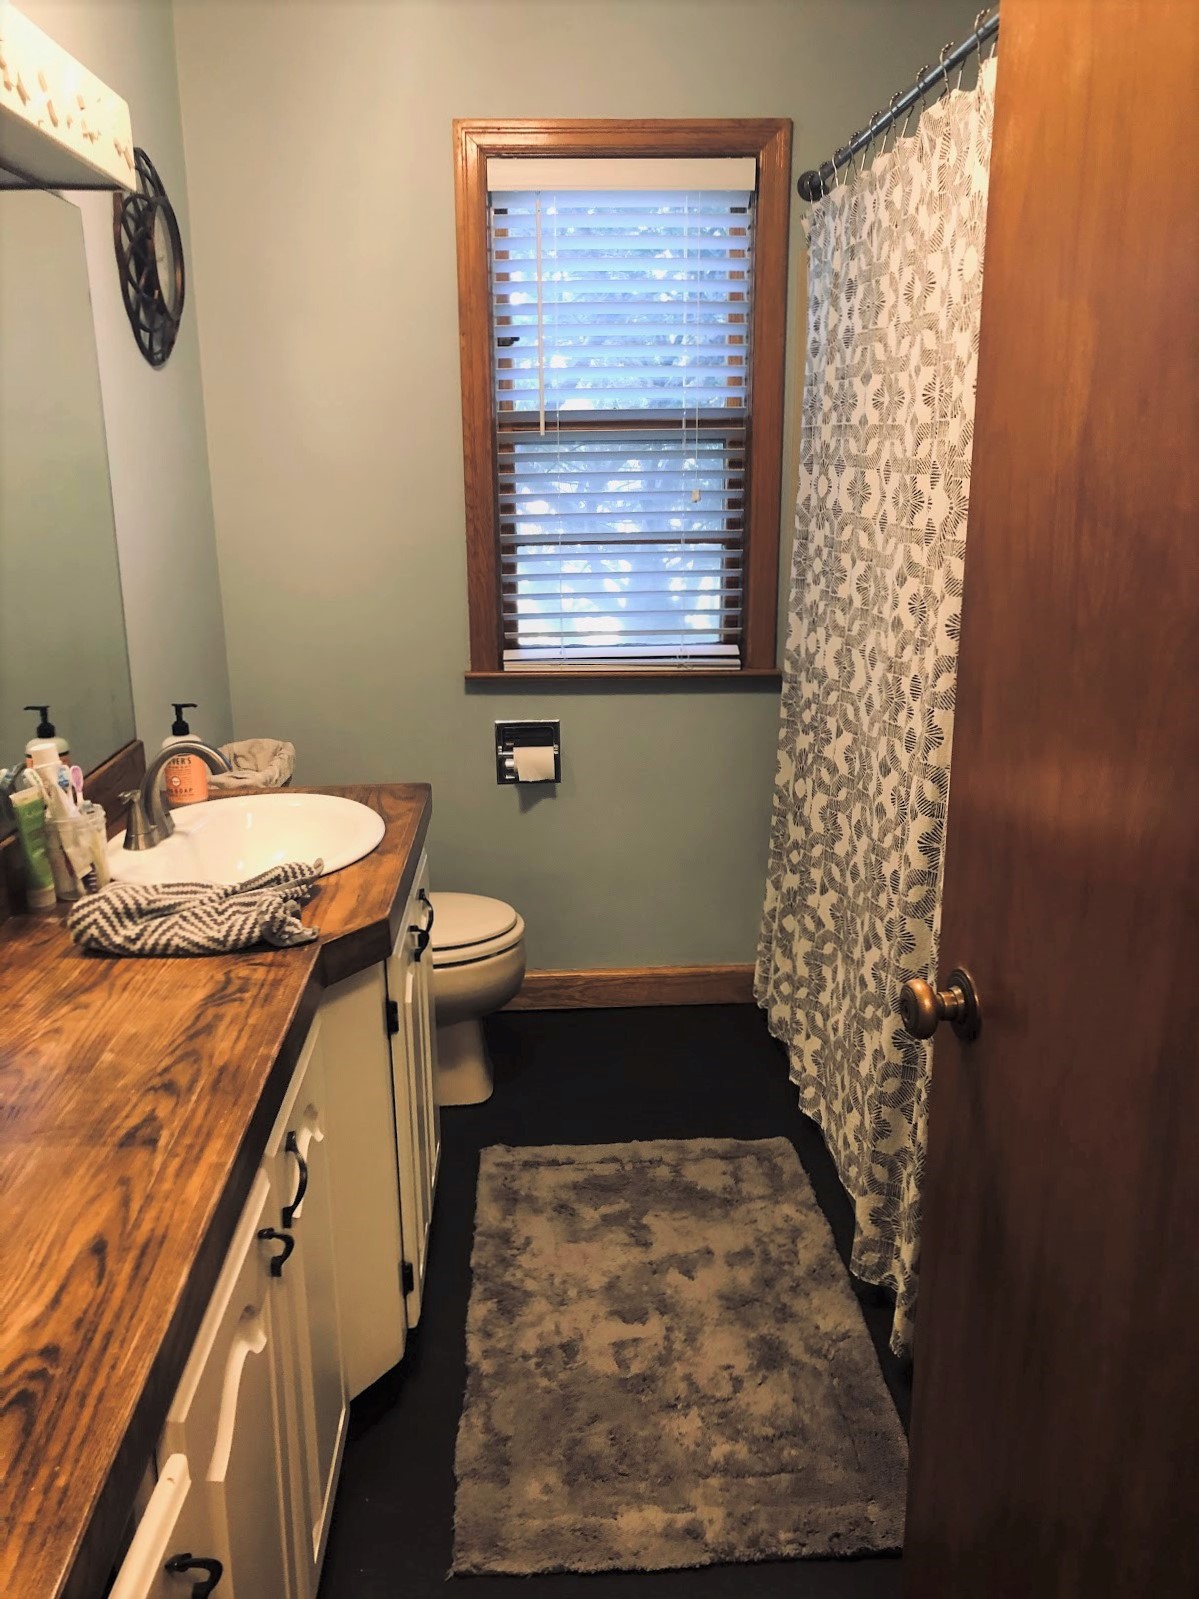
To complete this bathroom makeover the walls and vanity cabinet were also repainted and some fixtures and personal touches were added; we love how it turned out! You can go further to customize your project too by using painters tape to create designs in the flooring, or use a stencil to create more of a tile design.
We hope this tutorial inspires you to bring new life into your existing flooring and take on a DIY home improvement project of your own! If it does, make sure to tag us on Facebook or Instagram at Habitat Omaha ReStore so we can see what you create!
At the ReStore we believe in reusing as many materials as possible, not just for the cost savings, but for the environment too! When updating your home it’s great to repurpose what you have, but if you need to replace something the ReStore is a great first place to look!
From furniture and paint to final touches and decor, the Omaha Habitat ReStore always has items you can use to update any room in your home.
And if you are remodeling, check out our ReStore Deconstruction Program! We will help you safely remove old household materials to save them from the landfill and raise more funds for our Omaha community!
DON’T MISS OUT!
If you want to see more ReStore bargains & home decorating tips, join our email list! We send out a weekly Bargain Beat where we share what we believe to be the best ReStore deals & home inspiration.